By Rishi Ling
Throughout the spring quarter, I have explored a few different ways to record and mix a podcast for our Center Voices episodes. As a self-taught producer, much of my knowledge about audio production comes from online tutorials, readings, and trial and error. In this blog, I would like to talk about the setup that I used to record episodes, useful software, and my recommendations for those with an interest in recording either podcasts or music on a budget. For anyone who perhaps does not feel particularly tech savvy and are interested in recording their own podcasts, I hope this information can provide a brief and accessible introduction into the world of DIY recording.
Set up
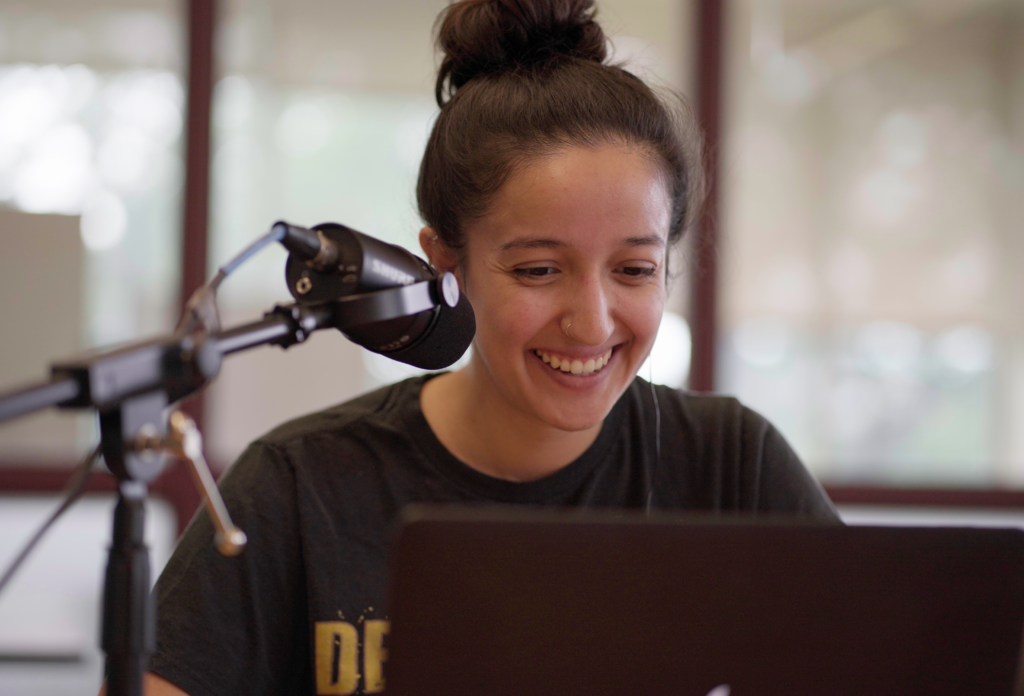
When recording a podcast, there are an abundance of sound set ups to choose from – an almost overwhelming amount. To keep things simple, I chose a setup that was a) portable and b) easy to manage. Here is a list of the sound equipment I used for our episodes:
- Scarlett Fireface interface 2i2
- Shure MV7X (dynamic microphone)
- Lewitt LCT 240 (large diaphragm condenser microphone)
- Two XLR cables
- Two table mic stands
You actually don’t even need an interface to record sound if you use a mic that has USB compatibility (like a Yeti, Snowball, or Shure MV7X microphone). Microphones with USB can plug directly into your computer’s corresponding port and record without an interface or phantom power. The MV7X Shure mic also has preset sound settings that help you emulate the boomy sound quality so often heard in podcaster voices through custom equalization and limiting. You can acquire this kind of tech through stores like Guitar Center, Best Buy, or through online retailers like Sweetwater and Reverb.
DAW
While you don’t need an audio interface to record audio, you do need a digital audio workstation (DAW) to edit audio. There are multiple free options out there, including Audacity, which is the DAW that Kristen and I used for the first few episodes of the podcast. Here is the link to their website:
https://www.audacityteam.org/
Audacity comes with helpful noise reduction tools so that you can do a basic clean up of your audio. There are also tutorials on their official website and on YouTube for those wanting step-by-step recording and editing instructions.
LUFS
Once you have recorded your interviews and cleaned up your audio, you are almost ready to publish your work. However, before you do this, you should think about how loud you want your episode. Podcasts, like any streamed audio production, need to adhere to loudness standards called LUFS, which have been broadly established by the International Telecommunication Union (ITU) and set individually by streaming platforms. Simply put, LUFs measure perceived loudness: how loud a track sounds rather than how loud it is. Streaming services like Spotify recommend mastering tracks to a loudness of -14dB integrated LUFS with peaks that generally don’t go above -1dB TP (True Peak) max. You don’t necessarily need to know a lot about audio normalization when you begin to record audio; however, it is important to be aware of these standards when exporting your master. Spotify and other platforms make these recommendations not only for uniformity in loudness but also so that creators are aware of the ways that their audio is altered when uploaded. Specifically, normalizing tracks, a process that streaming services like Spotify do to narrows dynamic range and increase uniform loudness, can sometimes lead to distortion, especially when files come from a compressed or lossy format. While understanding LUFS can be a bit difficult, know that these standards are meant to both protect our hearing and make listening to multiple tracks an ultimately more enjoyable experience.
An open-source software that both analyzes your track’s overall loudness and provides preset options for setting loudness is Auphonic. For our episodes, I uploaded masters to this software to normalize and check levels. It’s very user friendly and comes with 2 hours of free audio processing time. Here is the link to their website:
Some Takeaways
These are just a few places to get you started on your recording journey. Ultimately, the most important part of a recording are the source materials: your thoughts, ideas, and voice. For Center Voices, I used tech that I hoped would not be intrusive for our interviewers and interviewees. Whatever your goals, be pragmatic with how much tech you can handle. Don’t be afraid to start recording with whatever tools you have at your disposal.

